Crypto Chat
- 🧑💻 You will build this
- ▶️ Watch Tutorial Video
- 🗂️ Source Files
Introduction
Cryptography is a science for the paranoid. Thus if we are to build an application that is secure we will need to minimize the number of components that we have little understanding of its internal operations. For we must assume that if we do not have a complete understanding of a component than we cannot trust it. We will practice this while building this application for this workshop.
The application we are building is a tool to send encrypted messages to anyone with an internet connection. Since our application uses the internet, the message we write will be seen by the following components:
- The computer used to create the message
- The browser used to run our application
- The software used to encrypt our message
- The hardware/software managed by our Internet Service Provider (ISP)
- Any agency that is monitoring data that is being transfered through our ISP
- Any web servers that are used to host our web application
- The browser used to decrypt our message
- The computer used to run the browser that is decrypting our message
In theory the people writing, encrypting and decrypting the message only have control of the computers and sofware used to to do these things. Any other component cannot be trusted and thus we should assume the worst and that the owners of those components will use the data we send them against us. Therefore whatever data we send them needs to be encrypted using components we can control. We should not even trust the agencies of the internet designed to protect us like the cert authorities that https depends on. The best way to control our components is to use ones that are Open Source. That way anyone can go in and work to understand how they completely operate.
Qoom allows us to create web applications using the browser. If you use any modern browser you can understand how Qoom works by opening up Dev Tools and see what it is doing on your browser. Just as long as we can see that none of our messages are getting routed to Qoom, we can trust it.
Setup
- Create a Qoom Account at https://www.qoom.io
- Log into your Coding Space
- Go to the
explorerpage in your Qoom account- Click the
New Projectbutton.- Enter the name
secretmessenger.- Click the
secretmessengerfolder that gets created to see the files that were created.- Open the
html, css, and jsfiles
This workshop will assumes you have some basic understanding coding. There may be some terms and expressions that you do not understand from what is just written below. Feel free to search the internet to find a resource to help you understand them. Everyone learns differently, so while searching just keep with what works for you. This workshop is meant to introduce you to concepts so that you can pick and choose what you need to study.
If you ever need any help with this tutorial, feel free to use the help icon that appears when you select code to post a question on our discord server.
Creating the User Interface
When creating an App, it is a good idea to build what the person sees when they access your application.
This gives you a place to test your code while you build your creation. What a person sees when they access your application is called a User Interface.
Since our application will run using a web browser, we will need to use HTML to create our User Interface.
Let's start by selecting the tab that is showing your HTML page
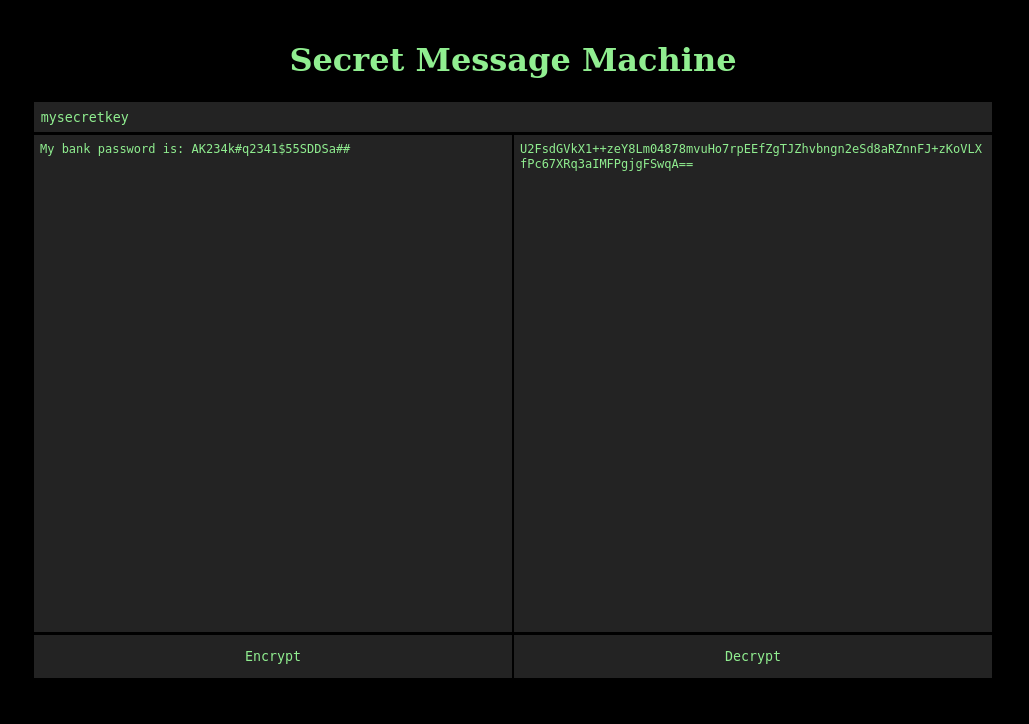
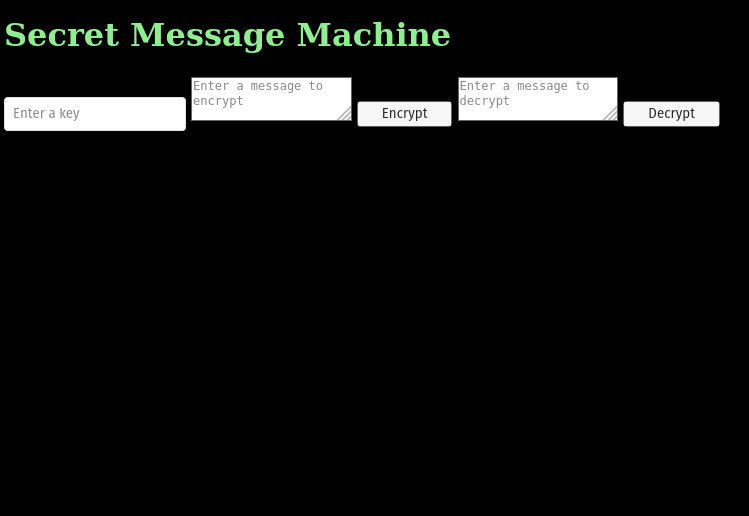
When building a User Interface, it is good to have a picture to work off of. For example:
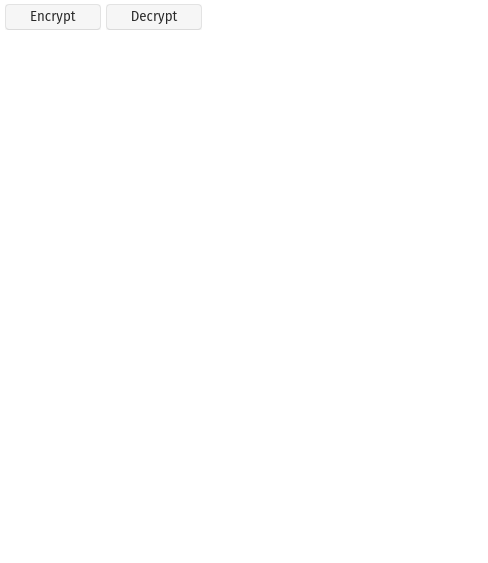
Now that we have a picture we need to describe it in the language of HTML. To do this we just need to describe each component or element using HTML tags. For example there are two buttons, one for encrypting and the other for decrypting. To describe these buttons in HTML we would use the <button> tag and put them inside the <body></body> element, like so:
<body>
	<button>Encrypt</button>
	<button>Decrypt</button>
</body>
Now your page should look like:
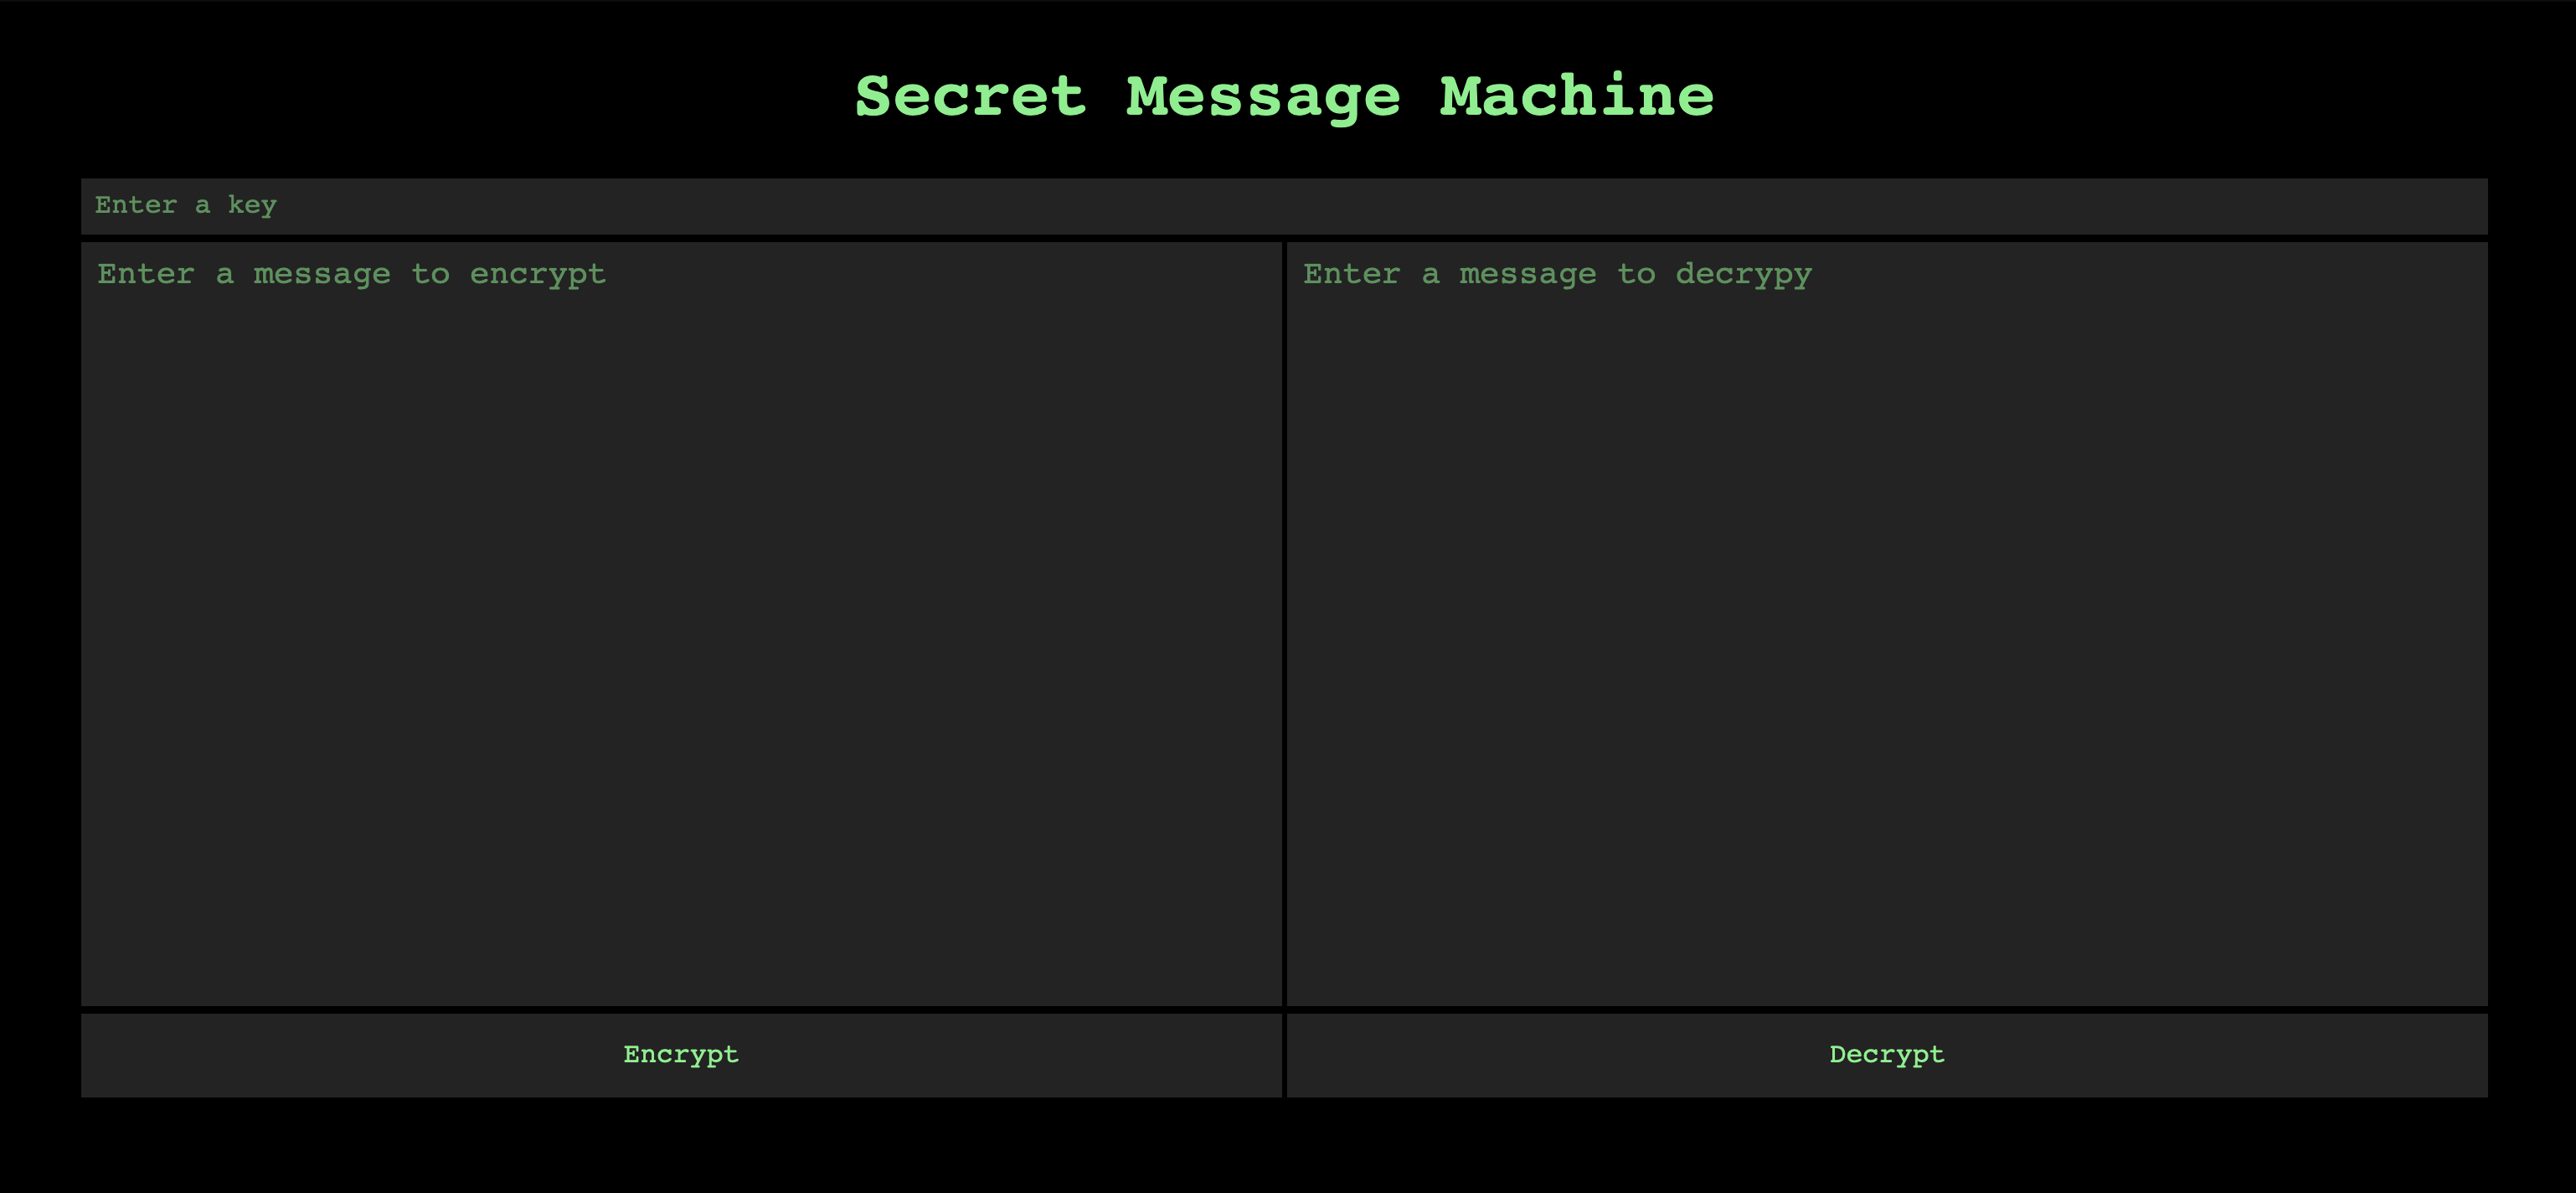
We also need to add an <input> element so that the user can insert a key for decryption and two <textarea>s for the messages. The final element that we can see is for the text Secret Message Machine. We will use the <h1> element to make that text big and bold. When we are done we have:
<body>

	<h1>Secret Message Machine</h1>

	<input placeholder='Enter a key'>

	<textarea placeholder='Enter a message to encrypt'></textarea>
	<button>Encrypt</button>

	<textarea placeholder='Enter a message to decrypt'></textarea>
	<button>Decrypt</button>

</body>
You may of noticed that if we put some text inbetween the element's start and end tags, it will appear inside that element in our UI. Also we can do something similar with a placeholder attribute. An attribute is a place to put instructions for the browser to do something for that element. In this case, the placeholder attribute will put text inside the element that will get deleted when you type something inside of it. So it is great for putting some visual instructions to the person looking at your app.
After this your page should look like:
Now that we have our elements, let's tell the browser how we want each element to look like. We use another language called CSS to do this. Open up the styles.css file that is in your project folder.
First thing, lets make the text light green and the background black. To do this we just enter the following inside the body {} selector. A selector is just a piece of code that we use to select the element we wish to style:
body {
	background: black;
	color: lightgreen;
}
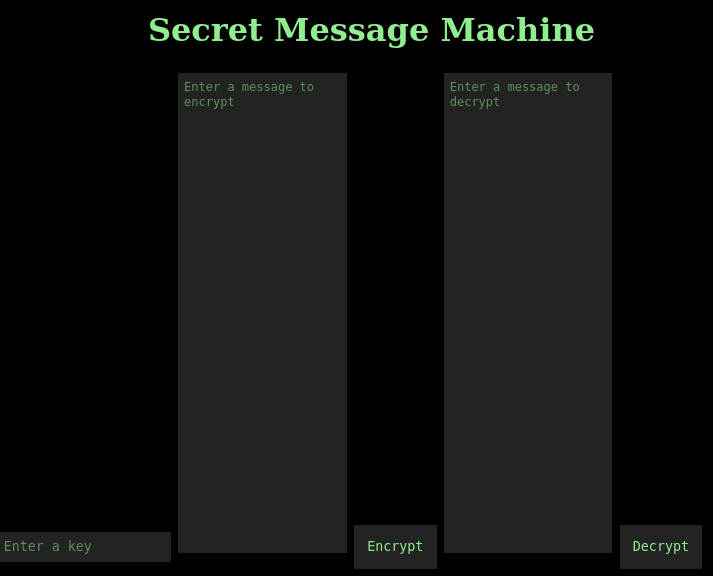
Now if you refresh your page, you will see that our UI is starting to look more like what is shown in the picture, but everything is out of place and incompletely styled.
Lets first completely style the elements we have on the page before putting things in their place:
h1 {
	text-align:center;
}

input {
	background-color:#232323;
	color:lightgreen;
	border:solid 1px black;
	padding:0.5em;
	font-family:monospace;
}

textarea {
	height:50vh;
	background-color:#232323;
	color:lightgreen;
	border:solid 1px black;
	padding:0.5em;
	resize:none;
}

button {
	background-color:#232323;
	color:lightgreen;
	border:solid 1px black;
	padding:1em;
	font-family:monospace;
	cursor:pointer;
}
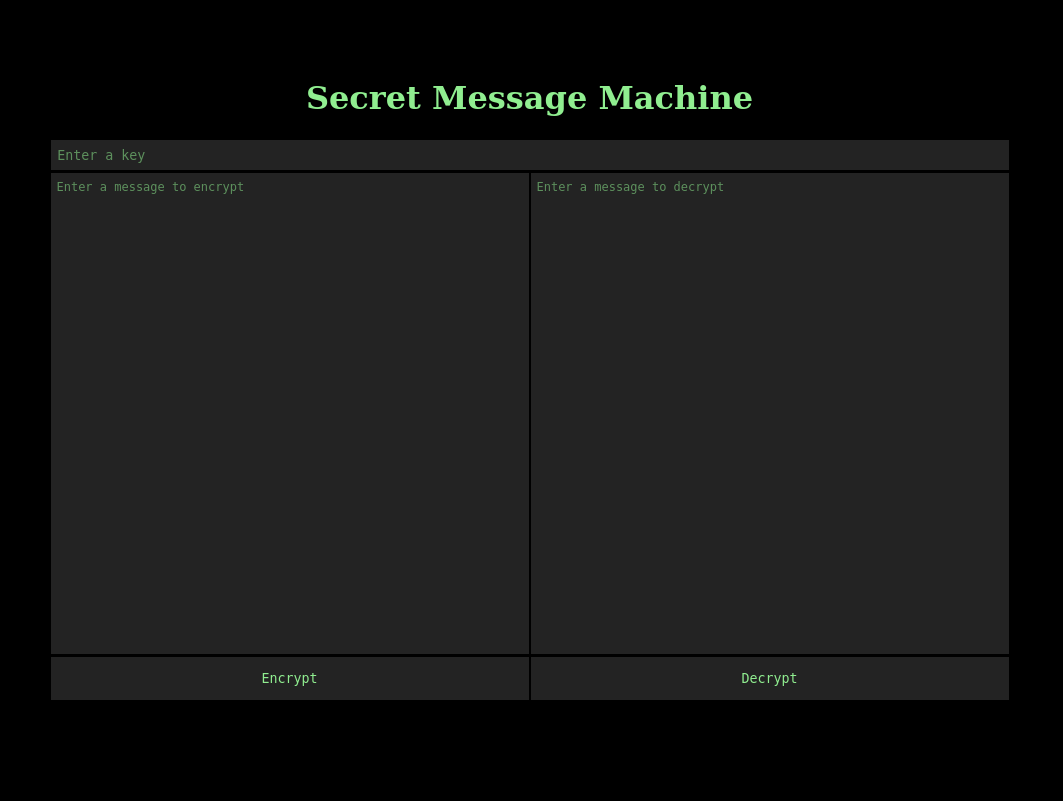
Next let's use the CSS Grid System to place each element where we want it:
body  {
	display:grid;
	grid-template-areas: 'h h'
	                     'k k'
	                     'l r'
	                     'e d';
}

h1 {
	grid-area: h;
}

input {
	grid-area: k
}

textarea:nth-child(3) {
	grid-area: l;
}

textarea:nth-child(5) {
	grid-area: r;
}

button:nth-child(4) {
	grid-area: e;
}

button:nth-child(6) {
	grid-area: d;
}
Finally we can move the entire thing in the middle of the screen:
body {
	max-width: 960px;
	margin:100px auto;
}
Making our UI work in Mobile
The next thing we need to do is make sure what we build work on mobile devices. Let's start by loading our app onto our phone using its browser:
- Click the
QR Codebutton in the preview panel- Take a picture of the actual
QR Codeusing your phone- Follow your phone's instructions to go to the website link that is embedded in that Code.
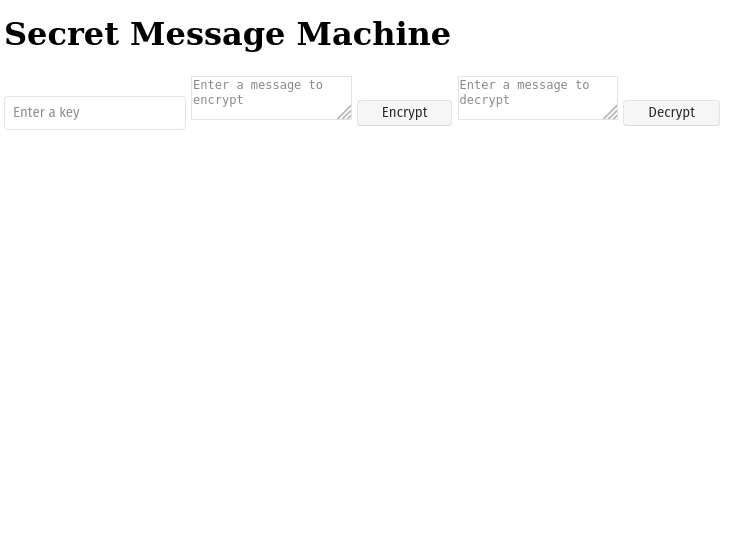
You should notice that it looks quite small:
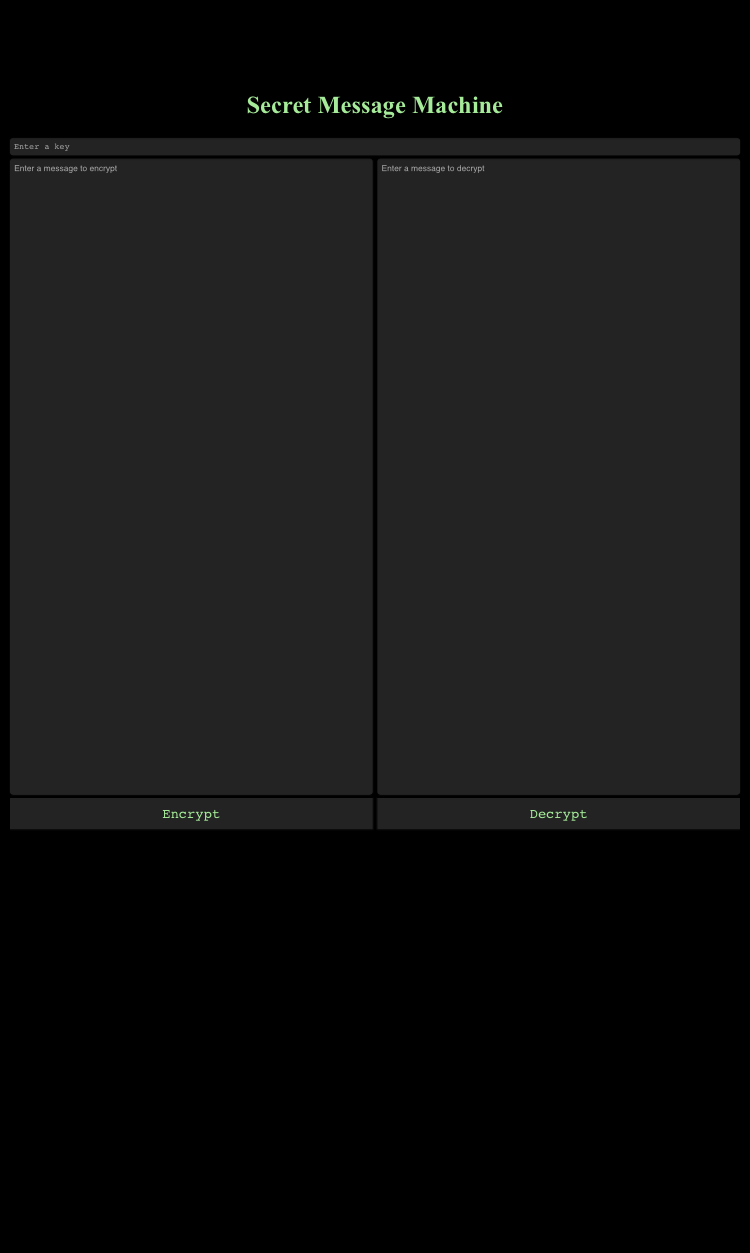
We can make it bigger by creating an <meta> element and place it inside the <head> element. The <head> element is for putting elements that instruct the browser to do something when loading the page. Instructions like 'change the pixel size so that my website isn't too hard to read on mobile'. For example:
<meta name="viewport" content="width=device-width, initial-scale=1">
To learn more you can go here: https://developer.mozilla.org/en-US/docs/Web/HTML/Viewport_meta_tag
Now just refresh the page your app is on and you should see that the content is easier to read.

Encrypting the Message
We are now done with our UI and are ready to start writing some javascript to write encrypted messages.
Before we start we need to import a file that contains all the code we need to do the actual encryption and decryption. For this workshop we will be using the CryptoJS library, since it is open source. Also we can easily look into the code and make sure we understand what the code is doing. That way we can trust it enough to send secret messages with minimal worry.
To import this library we need to create another element inside our html <head> element. This element will be a <script> element since it is used to tell the browser to load a javascript file.
<script src='crypto.js' type='text/javascript'></script>
In order for this to work we will need to create the crypto.js file. To do that:
- Go to https://app.qoom.io/edit/projects/cryptochat/app/crypto.js
- Use
Ctrl+AorCmd+Ato select everything- Use
Ctrl+CorCmd+Cto copy everything you selected- Create a new file called
crypto.jsin your project folder- Use
Ctrl+VorCmd+Vto paste everything into your file
When you create your file, the code becomes your own and you can freely change it to your needs.
Now let's open up our script.js file and write some code. The first thing we need to do is create a function that runs when the page is done loading:
function load(){

}

window.addEventListener('DOMContentLoaded', load);
Now we need to create variables to contain the elements that we created in our HTML file.
The document.querySelector() function is provided by the browser to help us find elements using their CSS Selectors.
function load(){
	const $key = document.querySelector('input');
	const $messageToEncrypt = document.querySelector('textarea:nth-child(3)');
	const $messageToDecrypt = document.querySelector('textarea:nth-child(5)');
	const $encryptionButton = document.querySelector('button:nth-child(4)');
	const $decryptionButton = document.querySelector('button:nth-child(6)');
}
After that, we can create a couple of functions that we can call to encrypt and decrypt a message when clicking the appropriate button. Each element has a function called addEventListener that allows us to call functions when we do something with those elements. Do something like clicking.
function load(){
	const $key = document.querySelector('input');
	const $messageToEncrypt = document.querySelector('textarea:nth-child(3)');
	const $messageToDecrypt = document.querySelector('textarea:nth-child(5)');
	const $encryptionButton = document.querySelector('button:nth-child(4)');
	const $decryptionButton = document.querySelector('button:nth-child(6)');


	function encrypt() {

	}

	function decrypt() {

	}

	$encryptionButton.addEventListener('click', encrypt);
	$decryptionButton.addEventListener('click', decrypt);

}
Now lets Encrypt a message. We do this by creating a series of instructions for our browser to run when we click the Encrypt button. Each instruction is written in English as comments in the code, denoted by //:
function encrypt() {
	// Try some code out and catch any bugs
	try {

		// Get the key that the person entered in the $key element
		const key = $key.value;
		// If no key was entered, ask the person to enter a key
		if(!key) return alert('Please enter a key!');

		// Get the message the person entered in the $messageToEncrypt element
		const message = $messageToEncrypt.value;
		// If no message was entered, ask the person to enter a message
		if(!message) return alert('Please enter a message!');

		// Use CryptoJS to encrypt a message using AES
		const encryptedMessage = CryptoJS.AES.encrypt(message, key).toString();

		// Generate a URL that we can send someone the encrypted message
		const url = location.origin +
						location.pathname +
						'?' +
						encryptedMessage;

		// Update the address bar to hold our encrypted message
		window.history.pushState({}, '', url);

		// Show our encrypted message in the $messageToDecrypt element
		$messageToDecrypt.value = encryptedMessage;

	} catch(ex) {
		// show a message describing the bug
		alert(ex);
	}
}
When you are done, you can test it on your computer or phone:
Decrypting the Message
Now we are done Encrypting our message we can now send the url to our friend. We can do this either by copying the address from the address bar, or by using your phone's share feature. But, our friend has no way of decrypting the message. Let's create that function next:
function decrypt() {
	// Try some code out and catch any bugs
	try {
		// Get the key that the person entered in the $key element
		const key = $key.value;
		// If no key was entered, ask the person to enter a key
		if(!key) return alert('Please enter a key!');

		// Get the message the browser entered in the $messageToDecrypt element
		const message = $messageToDecrypt.value;
		// If no message was entered, ask the person to enter a message
		if(!message) return alert('Please enter a message!');

		// Use CryptoJS to decrypt a message using AES
		const decryptedMessage = CryptoJS.AES.decrypt(message, key).toString(CryptoJS.enc.Utf8);

		// Generate a URL that has no encrypted message
		const url = location.origin +
						location.pathname;

		// Update the address bar to remove our encrypted message
		window.history.pushState({}, '', url);

		// Show our decrypted message in the $messageToEncrypt element
		$messageToEncrypt.value = decryptedMessage;


	} catch(ex) {
		// show a message describing the bug
		alert(ex);
	}
}

// Load the decrypted message from the address bar
$messageToDecrypt.value = location.search.substr(1);
Now your friend has a way to decrypt a message. We are finished with our application.
Try it yourself
- Replace the encryption/decryption mechanism with another algorithm
- Change the colors and sizes uses to match your preferences
- Use an
<output>element to store the encrpyted url instead of the address bar.- Create a button to copy the url for you.
After customizing this application, please submit a link to our discord server. Feel free to use the submission button that is found in the editor.